This is a typical individual peer assessment activity where a student:
- submits their work;
- peer assess other student submissions anonymously (with options to self-asses);
- receives feedback from others (with options to revise & resubmit).
To create a peerScholar Classic Individual activity:
In Learn Ultra
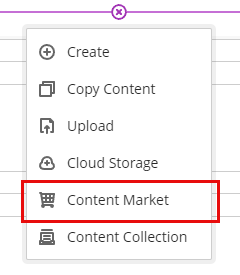
- In your Learn Ultra course, navigate to the place you wish to create the activity/assessment, this may be in a folder or learning module such as Assessment. Select the + icon, and from the pop-up select Content Market.
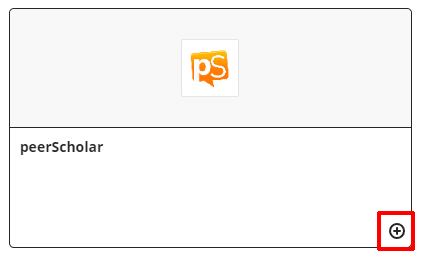
- Select the + icon at the bottom right corner of the peerScholar tile to create a link to peerScholar activity in your Learn Ultra Course.
- Change the name of the activity using the More options (the ellipses/three dots on the right). Select Edit to launch the pane and provide an appropriate name for the activity and add a description. Select Save.

- If the activity is a graded assessment, you can add the task as a graded item in Learn Ultra Gradebook. To learn more, see the guide on Sync peerScholar grades to Learn Ultra Gradebook.
Select Activity Type
- Select peerScholar link to launch and set up the activity. From the Add Activity pop up panel, select the first option – Classic Individual and select Create Activity.

- Next, you will see a progress prompt with the different stages in this activity set up.
This guide covers the first step – Build Activity. The next stages of the set up are covered in the following guides:- scheduling an activity and;
- customising grades (optional)
- Select Let’s Go to start.

Build Activity
- Expand the Classic Activity section, enter a short description and tags if required.
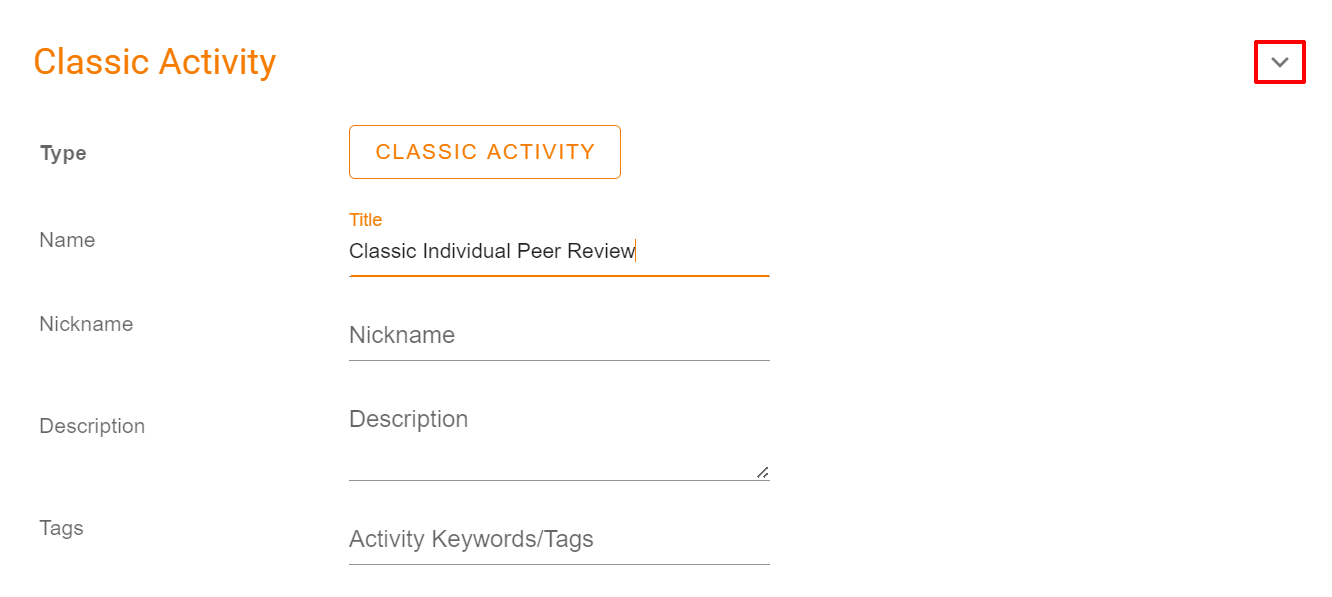
- This page also provides options and settings for all three phases of the activity.
Create Phase
- Under the Create section, add instructions in the text editor. If required you can attach (using the + Attachments button) any supporting documents for the assignment, e.g. upload you proforma/assignment/poster as a PDF or Word document.

- The Advanced Settings (the cog icon) on the pane far right of the page allows you to further customise the setting for your activity. See the peerScholar Advance settings guidance for details.
Assess Phase
- In the Assess section, select the number of peer reviews the student must do.
- Here you can build a custom rubrics in the form of a matrix or provide a set questions to guide the students through the peer assessment process. Two examples have been included by default. You can amend this by removing and/or adding additional questions using the Add Peer Assessment option at the bottom.
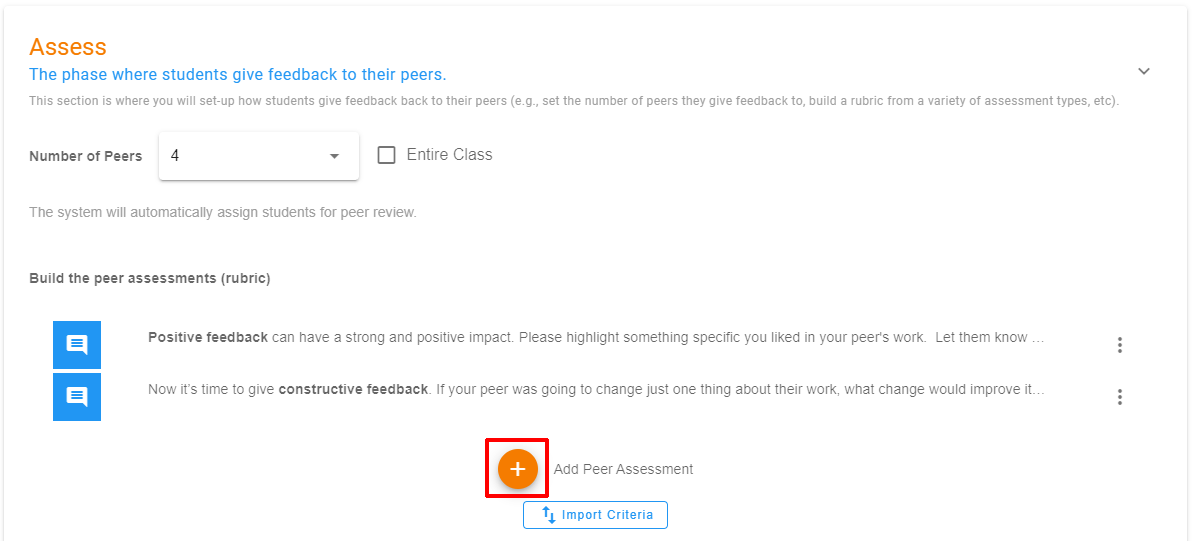
- There’s a range of question types in peerScholar – multiple choice, drop down, checkbox, rubric matrix, point, star, scale rating and open comment.

- The self-assessment option is on by default. If left enabled, this would require students to assess their own submission and complete rubrics and/or any guided question set using the Add Self-Assessment option.

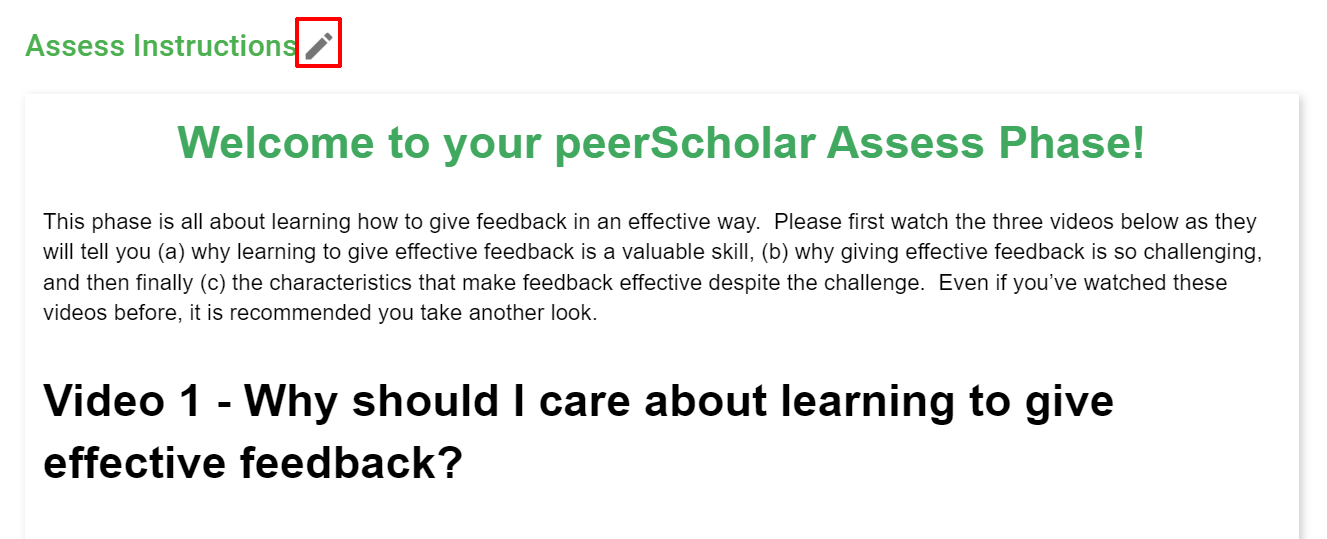
- Further down the page, you can amend or add to the default text and video that has been pre-populated in the Assess Instructions. Select the the pencil icon next to the title to edit the instructions.
Reflect Phase
- The final section, Reflect provides options for you to enable students to complete the feedback loop within peerScholar by asking students to respond to/assess their peers’ feedback and/or require students to revise and resubmit their work after viewing the peer’s feedback.
This phase is optional. If you wish to skip this phase partly or entirely, use the toggle next to Assess the Feedback and Revise and Resubmit options to disable the features.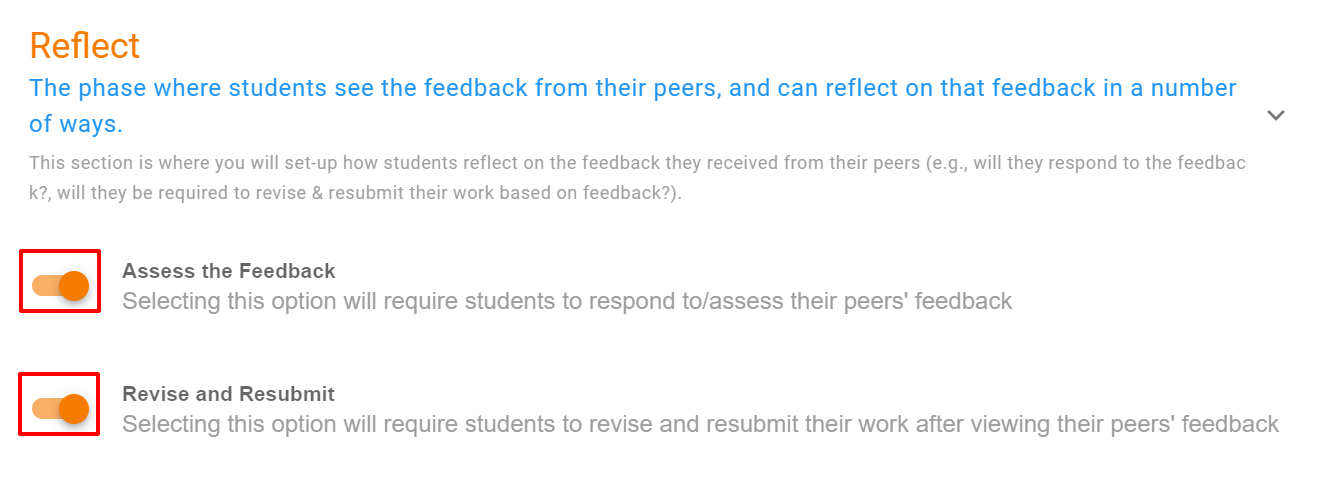
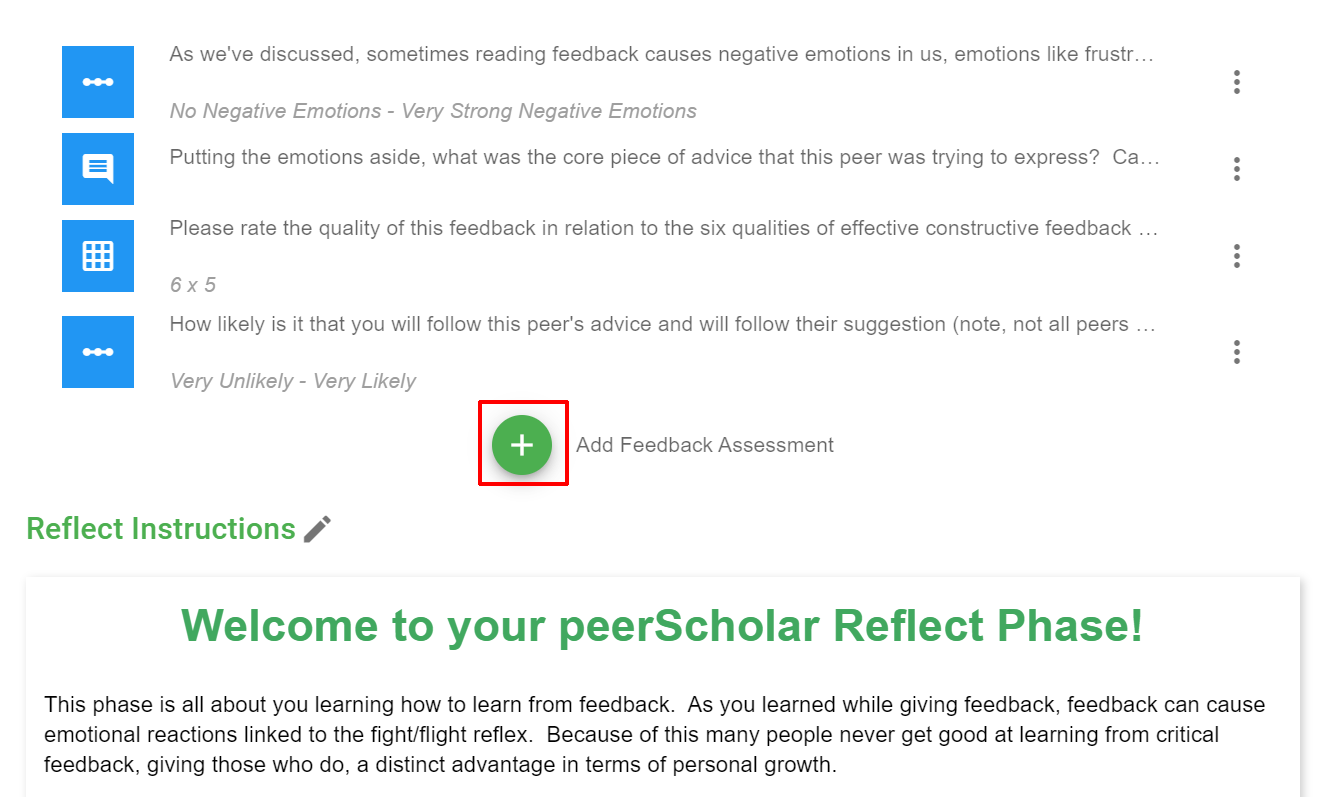
- If using, you can create a custom rubric and guided question using the Add Feedback Assessment icon and amend the Reflect Instructions as required.
- Select Continue for the next section to set dates – see the guide on scheduling or setting dates for your peer review activity or select Save and Close button at the top right of the page if you wish to save and resume the set up later.
